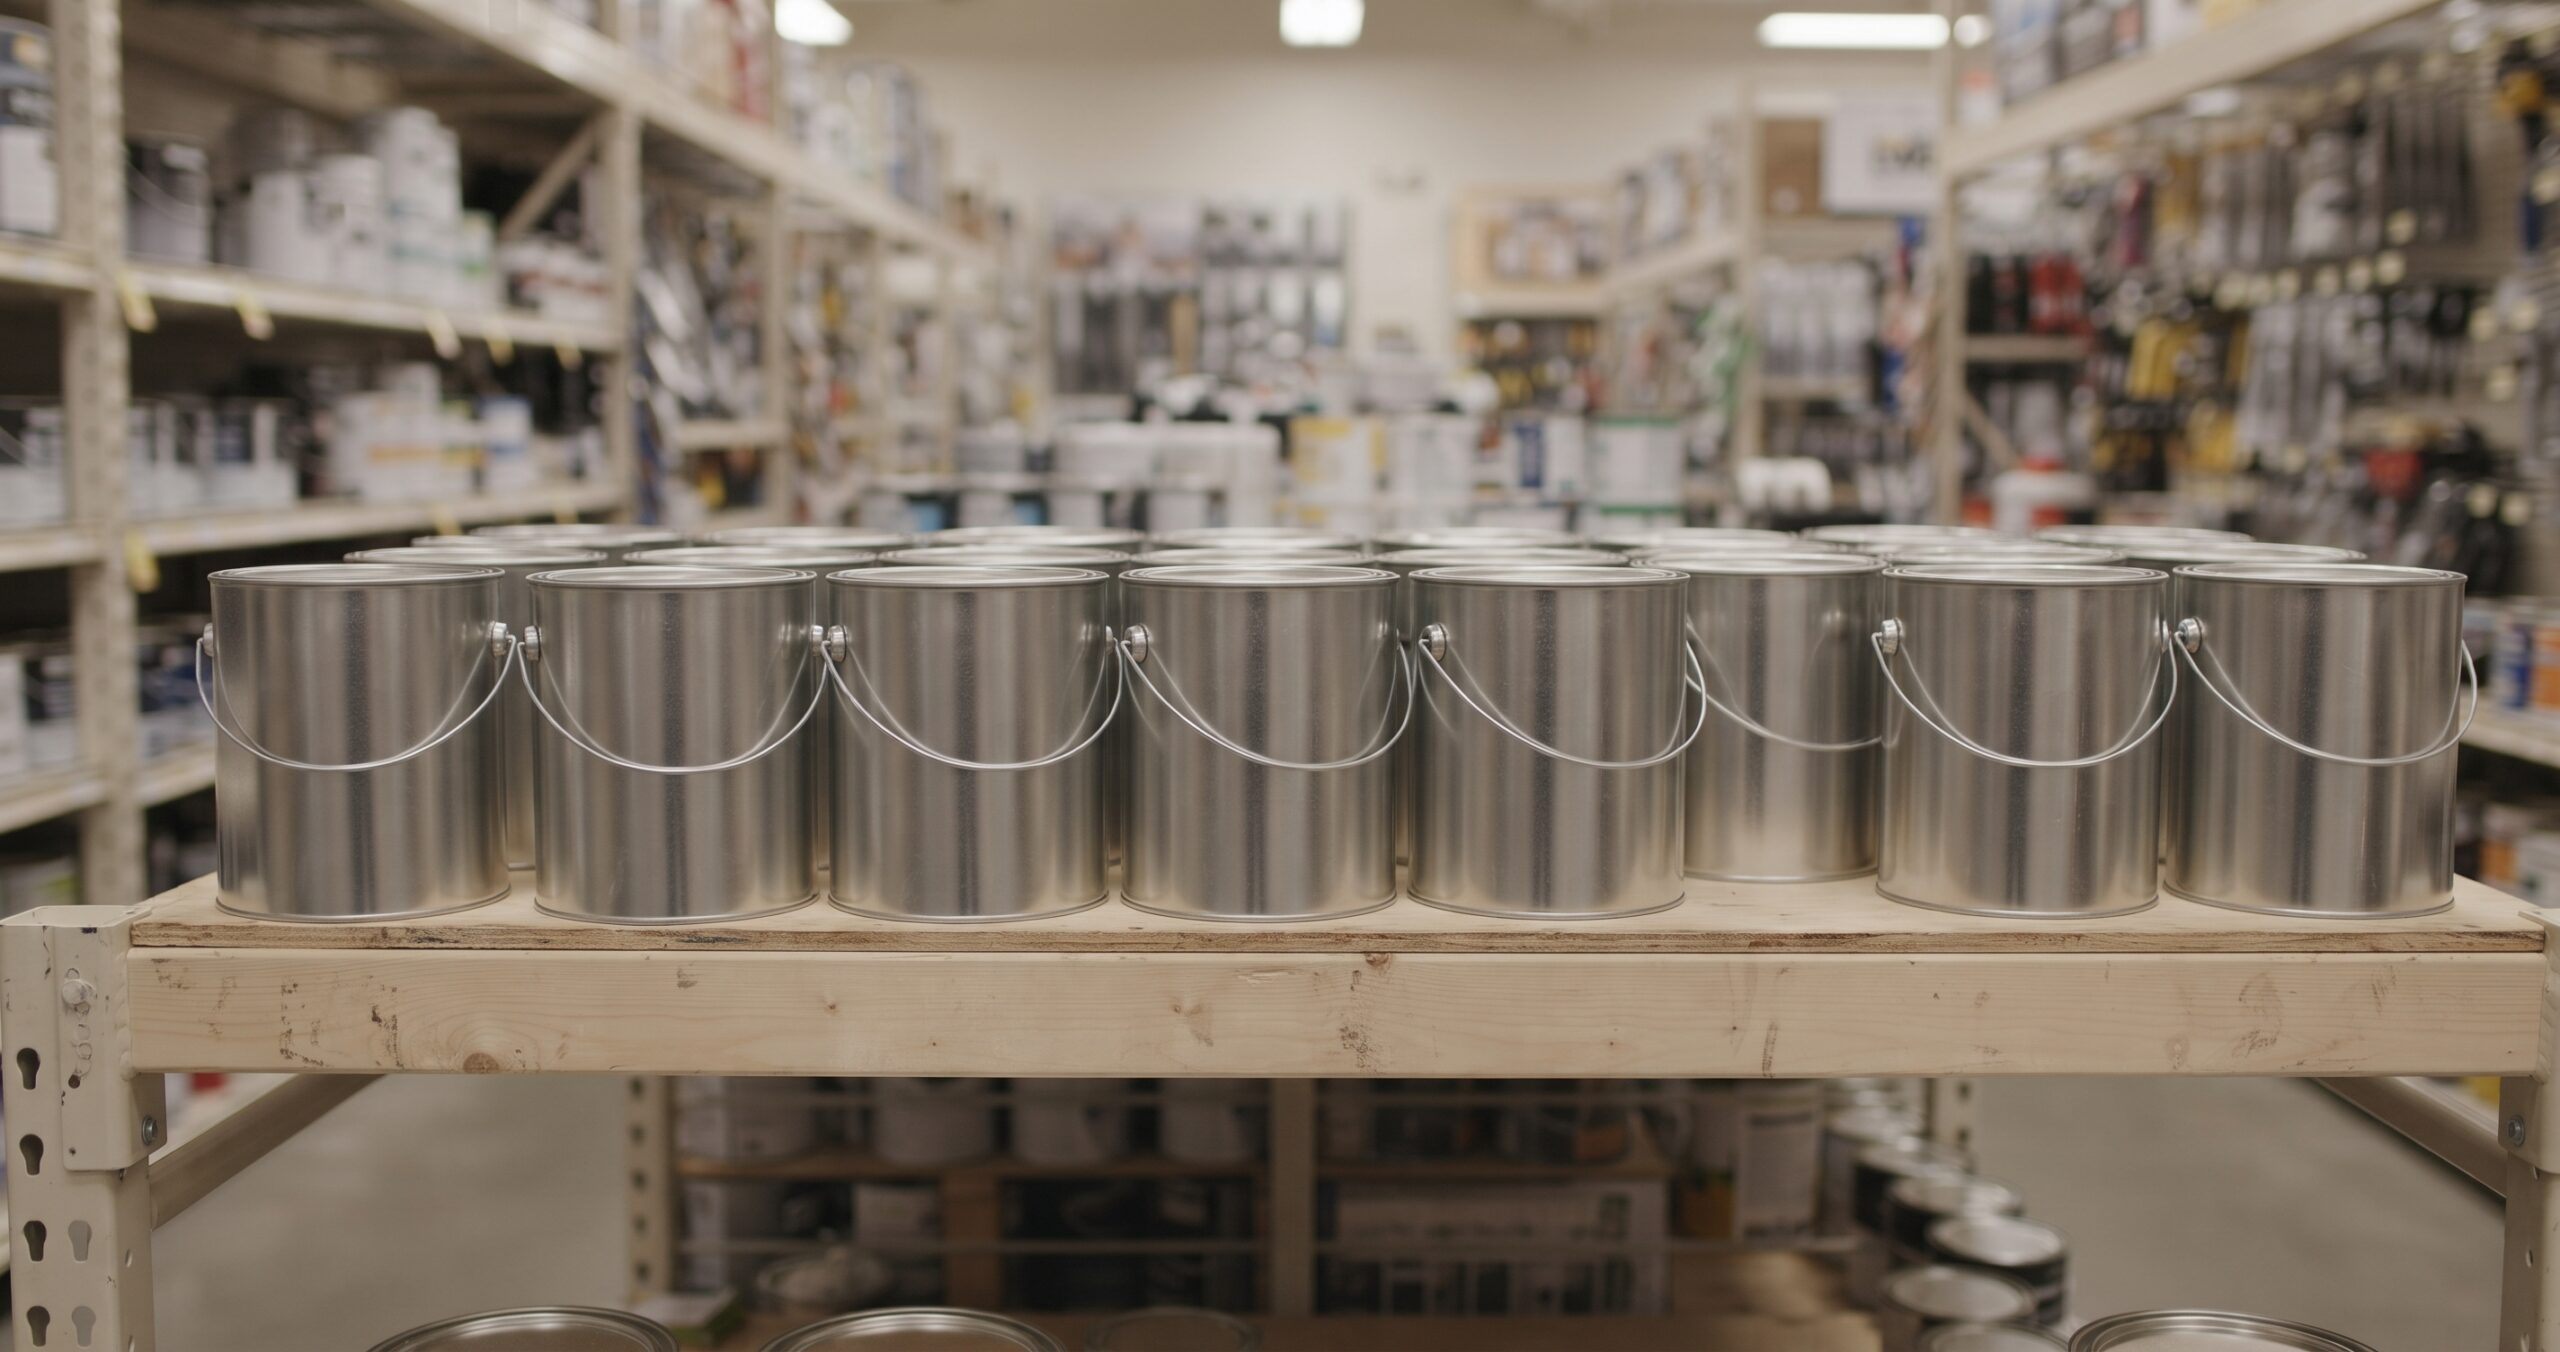
Ordering the right amount of paint is one of the simplest ways to keep a project on budget and on schedule. Order too little and you face a delay while the next tin is delivered, along with the risk that the new tin does not match the first. Order too much and you have leftover tins gathering dust on a shelf. The right figure depends on the size of the surfaces, the number of coats, the type of paint and the surface it goes onto. This guide walks through each step so you can work out a sensible figure before you buy.
Key takeaways
- Sketch the room or area before you measure anything.
- To measure wall area, add up the length of all the walls in the room.
- Divide the area by the coverage rate on the data sheet to get the litres needed for one coat, then multiply by the number of coats.
- The number of coats depends on the product, the surface and the finish you want.
- The worked example uses an illustrative coverage rate, not a product specification, so use the rate on your own product data sheet.
- Waste is normal, and most shortages come from a short list of common estimating errors.
The method below is general. Every paint has a coverage rate printed on its technical data sheet, usually in square metres per litre for one coat under stated conditions. That figure is the one you should use, because it reflects the specific product rather than a rough rule. Where this guide shows numbers, they are examples that illustrate the arithmetic. They are not specifications for any product.
Start with a simple plan of the space
Before you measure anything, sketch the room or area. Mark the walls, doors, windows, alcoves and built in cupboards. A rough plan with dimensions written on it is enough. Note the ceiling height, because it changes the wall area more than most people expect. A room with walls three metres high has noticeably more wall than a room with the same footprint and walls of 2.5 metres.
Decide exactly what you are painting. A project may cover walls only, or walls and ceilings, or doors, frames, skirting, railings, balcony walls or exterior fascias. Each element needs its own calculation, and each may use a different product. Keep them as separate lines in your plan so that nothing is missed.
Measure the walls properly
To measure wall area, add up the length of all the walls in the room. This gives the perimeter. Multiply the perimeter by the height of the walls to get the gross wall area in square metres. Then subtract the openings: each door, each window and any large recess you will not paint. Measure the height and width of each opening, multiply them, add the results together, and subtract the total from the gross wall area.
Some people skip the subtraction, which is a reasonable shortcut for small openings if you are rounding up anyway. For a large space with several doors and windows, the subtraction makes a real difference, and it is worth doing properly.
Measure the ceiling
The ceiling area is the length multiplied by the width of the room. For an irregular shape, split the room into rectangles, measure each one, and add them together. Skip this step if the ceiling is not being painted.
A worked example
Here is a simple example for a room measuring 4 metres by 3.5 metres, with walls 2.7 metres high. The numbers are chosen only to show the method.
The perimeter is 2 multiplied by the sum of 4 and 3.5, which is 15 metres. The gross wall area is 15 multiplied by 2.7, which equals 40.5 square metres. The room has one door measuring 2.0 metres by 0.9 metres, which is 1.8 square metres, and one window measuring 1.2 metres by 1.0 metre, which is 1.2 square metres. Together the openings total 3.0 square metres. The net wall area is 40.5 minus 3.0, which is 37.5 square metres. The ceiling area is 4 multiplied by 3.5, which is 14 square metres.
Turn area into litres
Divide the area by the coverage rate on the data sheet to get the litres needed for one coat, then multiply by the number of coats. The coverage rate used below is an assumed figure for the arithmetic only. It is not a specification for any product: 10 square metres per litre, for one coat.
For two coats on the walls, the net area of 37.5 square metres multiplied by two gives 75 square metres. Divided by 10, that is 7.5 litres. For two coats on the ceiling, 14 multiplied by two gives 28 square metres, which is 2.8 litres. The total is 10.3 litres. Adding about 10 per cent for waste, spillage and touch ups gives roughly 11.3 litres for the room.
Round up to the nearest pack size that the product is sold in, and confirm with the supplier that all the tins come from the same batch. Rounding up is part of the plan, not a mistake.
Surfaces change how much paint you need
Coverage rates assume a smooth, sealed and evenly absorbent surface. Real walls are rarely that simple. Rough plaster, new gypsum board, bare block and textured finishes all absorb paint differently. A porous surface soaks up more paint on the first coat, so the first coat often uses more than the later ones. Patched areas, filler and repaired cracks can take paint differently from the rest of the wall, which is why they show up as dull patches if they are not primed.
Condition matters too. Chalky, dusty or flaking walls need cleaning and sealing before paint goes on, and the extra work usually means extra coats or a different system. A wall that has already been painted in a strong colour can also need more coats to cover, especially when the new colour is much lighter. Build these factors into your plan rather than assuming that two coats will always be enough.
Coats, primers and undercoats
The number of coats depends on the product, the surface and the finish you want. Many emulsions are applied in two coats for an even colour, and some situations call for a primer, undercoat or sealer first. The data sheet gives the recommended system for each product, and it is the first place to look.
Where a primer is required, calculate it as a separate quantity using the primer’s own coverage rate. Do not assume that the topcoat coverage applies to the primer. Primers and sealers are often thinner or thicker than the finish coat, and they are not interchangeable across brands.
Tinted paint needs the same thought. A colour that has been mixed in a shop may use a different base from the one you bought earlier, and a deep colour can need more coats than a white. If you are planning to tint a tin, decide the colour before you calculate the quantity, so the total reflects the final product.
Finish and texture affect coverage
The finish you choose changes the job. Matt, silk, satin and gloss finishes differ in how they look and how they wear, and products within each range can have different coverage rates. Textured coatings and high build finishes generally cover less area per litre than thin smooth paints, because they are designed to fill and hide an uneven surface. The coverage figure on the data sheet will show this, and it is the number to use in your calculation.
Think about where the room will be used. A wall in a busy hallway may need a more durable finish than a bedroom wall, and a more durable finish may cover differently. Choose the finish first, then calculate the quantity from its data sheet. Changing the finish after you have bought the paint is a common cause of shortages.
Ceilings, doors, skirting and trim
Ceilings are usually calculated separately because they are often painted with a flat or matt finish, which can have a different coverage rate from the walls. Doors, frames, skirting, cabinets and radiators are small areas, but each one uses paint for every coat, and they add up across a whole flat. Measure the items you are painting where you can, and add an allowance for them rather than leaving them out.
Trim paint is often a different product from wall paint. It is designed to be harder wearing and to level well on wood and metal. Check the trim paint’s own data sheet and calculate its quantity separately. Mixing the two types in one estimate, using the wall coverage figure, is a common source of error.
Exterior walls and balconies
Exterior work needs more thought than interior work. Walls exposed to strong sun, heat, wind and dust absorb paint differently and wear faster. Rendered walls, textured finishes and older surfaces often take more paint than a smooth interior wall. A balcony wall or railing may have several faces and edges that are difficult to measure accurately, so it is worth allowing extra for them.
Read the exterior paint’s data sheet and check the recommended preparation and coats. Our blog has a separate guide to the best exterior paint in the UAE, which explains the choices for outdoor surfaces. Plan the exterior quantity separately from the interior, because the products and coverage rates are often different.
Keep the batch consistent
Paint is mixed in batches, and small differences between batches can show up clearly on a large, flat wall, especially in lighter colours. Where you can, buy enough from one batch to finish the whole area in one go. If you run short, ask the supplier whether the same batch is still available before you buy more. Note the batch number on the tin when you buy it, and keep a spare tin from the same batch for touch ups.
When you have more than one tin, mix them together in a larger clean container before you start. This blends any small variation between the tins and gives you one uniform colour to work with. Stir each tin thoroughly before mixing, because pigment settles at the bottom of the tin over time.
Waste and storage
Waste is normal. Some paint stays in the roller tray, the brush, the mixing bucket and the edge of the tin, and some is lost on rough or uneven surfaces. That is why the allowance of about 10 per cent in the example is a sensible starting point, though the real figure will depend on your method and your surface.
Store leftover paint in a tightly sealed container and label it with the room, the colour and the date. Keep it out of direct sunlight and away from heat, and keep it off the floor where moisture can reach it. Paint that has been opened for a long time, or that has been exposed to heat, may separate or change in consistency. Check the tin before reusing it, and do not use paint that smells sour or has formed a skin that does not stir back in.
Work in a sensible order
The order in which you paint can affect how much you use, because drips, splashes and overlaps waste paint and add extra coats. A common approach is to paint the ceiling first, then the walls, then the doors and trim. This means drips from the ceiling land on surfaces that are going to be painted anyway, and the trim is finished last so that the wall paint does not spoil it.
Work from the top down, and keep a wet edge when you roll. Stopping and starting in the middle of a wall leaves lap marks, and fixing them often means extra paint. Plan your sections so that you can finish a wall in one session where possible.
Common mistakes when estimating
Most shortages come from a short list of errors. Avoid these and your estimate will be much closer to the real figure.
- Measuring only the floor area and assuming the wall area is roughly the same.
- Forgetting that ceiling height changes the wall area, sometimes a great deal.
- Ignoring doors, windows and alcoves in a large room, or subtracting them without measuring them properly.
- Using a coverage figure from a different product, or from memory, instead of the data sheet.
- Leaving primer, undercoat, trim paint or tinting out of the total.
- Assuming one coat is enough when changing from a dark colour to a light one.
- Buying exactly the calculated amount with no margin, so the job cannot be finished from the same batch.
Write your numbers down, keep the plan with the job file, and note what you actually used. That record makes the next estimate faster and more accurate.
Planning a whole flat or villa
When you estimate for a whole home, treat each room as its own job and then add the totals. Rooms differ a great deal. A living room with a long wall and a high ceiling uses far more paint than a small bathroom where most of the walls are tiled and will not be painted at all. Listing each room on one sheet, with its surfaces, its measurements and its finish, makes the total easy to check.
Keep the finishes consistent across rooms where possible. If the same product is used for every bedroom, you can add the bedroom quantities together and buy them from one batch. Where rooms use different finishes or colours, make a separate line for each product so that you do not end up with the wrong colour in the wrong room.
Remember the surfaces that are not walls. Kitchens and bathrooms often have tiled areas that stay unpainted, while balconies, entrances and staircases may need exterior-grade or specialist products. Mark them clearly on the plan so that you do not count them by mistake, and do not leave out the ones that do need paint.
A simple checklist
- Sketch each room and mark its doors, windows and alcoves.
- Measure the perimeter and the wall height of each room.
- Subtract the openings and record the net wall area.
- Measure the ceiling area of every room being painted.
- Add doors, trim, cabinets and radiators, with an allowance for each.
- Look up the coverage rate and recommended coats on each product’s data sheet.
- Calculate the litres for each product, add the waste allowance, and round up to the pack size.
- Confirm the batch numbers and buy the full quantity for each product at once.
What to do if you run short
If you run out partway through a wall, stop at a natural break such as a corner or a window edge rather than in the middle of an open area. Check whether the same batch is still available. If it is not, test the new batch on a spare board or a hidden area before using it on a full wall. Finishing one wall in two different batches, or in two shades, is one of the most common causes of visible patches, and it is much harder to fix than the cost of a single extra tin.
Checking your estimate after the job
Once the job is finished, compare the tins you actually used with the figure you calculated. Note the difference and the reason for it, such as an extra coat over a dark colour, more waste on a rough surface, or a corner you forgot to measure. Over a few projects this record becomes a reliable guide, and each new estimate becomes more accurate. Keep the data sheets and the tin labels together, so you can see which products performed as expected.
Frequently asked questions
Is there a standard amount of paint for a flat?
There is no single figure that suits every flat. Layouts, ceiling heights, the number of doors and windows, and the finishes chosen all change the total. The reliable approach is to measure each room as described in this guide, add the totals, and then apply the coverage rate and number of coats from the data sheets of the products you are using.
Should I buy one large tin or several smaller ones?
It depends on the job. A large tin can be more economical per litre, but only if you will use it before its shelf life runs out, and only if the batch works for the whole area. Several smaller tins from one batch can be more convenient. Compare the cost per litre on the price list, check the date on the tin, and choose the option that lets you finish from one batch.
Do new walls need a primer?
It depends on the surface and the paint. New plaster, gypsum board and filler often need a suitable primer or sealer before the finish coat, as the data sheet describes. Skipping this step can cause uneven absorption and visible patches. Our guide on how to prepare a wall before painting covers the preparation steps in more detail.
Can I use a leftover tin from a previous job?
Sometimes, if it is from the same product and batch, has been stored correctly, and is still in good condition. Stir it thoroughly, test it on a small hidden area, and check that the colour and finish match what you need. If you are unsure, use a new tin for the whole surface and keep the old one for touch ups.
How Al Tashteb can help
Al Tashteb supplies paint and building materials in Dubai and Sharjah, including products from Berger, Jotun and National Paints. Browse the range on our products page. If you want help checking your figures, send your room sizes, the surfaces you are painting and the finish you have in mind through the contact page, and ask the team to check the numbers against the data sheets for the products you are considering.
For more on the surfaces that come before paint, read our guide to interior paint, emulsion, enamel and primer. Exterior projects are covered in our guide to the best exterior paint in the UAE, and roof and terrace projects are covered in our guide to waterproofing roofs, terraces and balconies in the UAE.
A careful estimate needs little more than a tape measure, a pencil and the data sheet. Measure each surface properly, use the coverage rate from the product you have chosen, allow for the coats and the waste, and buy from one batch. That is how you finish a room with the right amount of paint and without a rushed trip back to the shop.