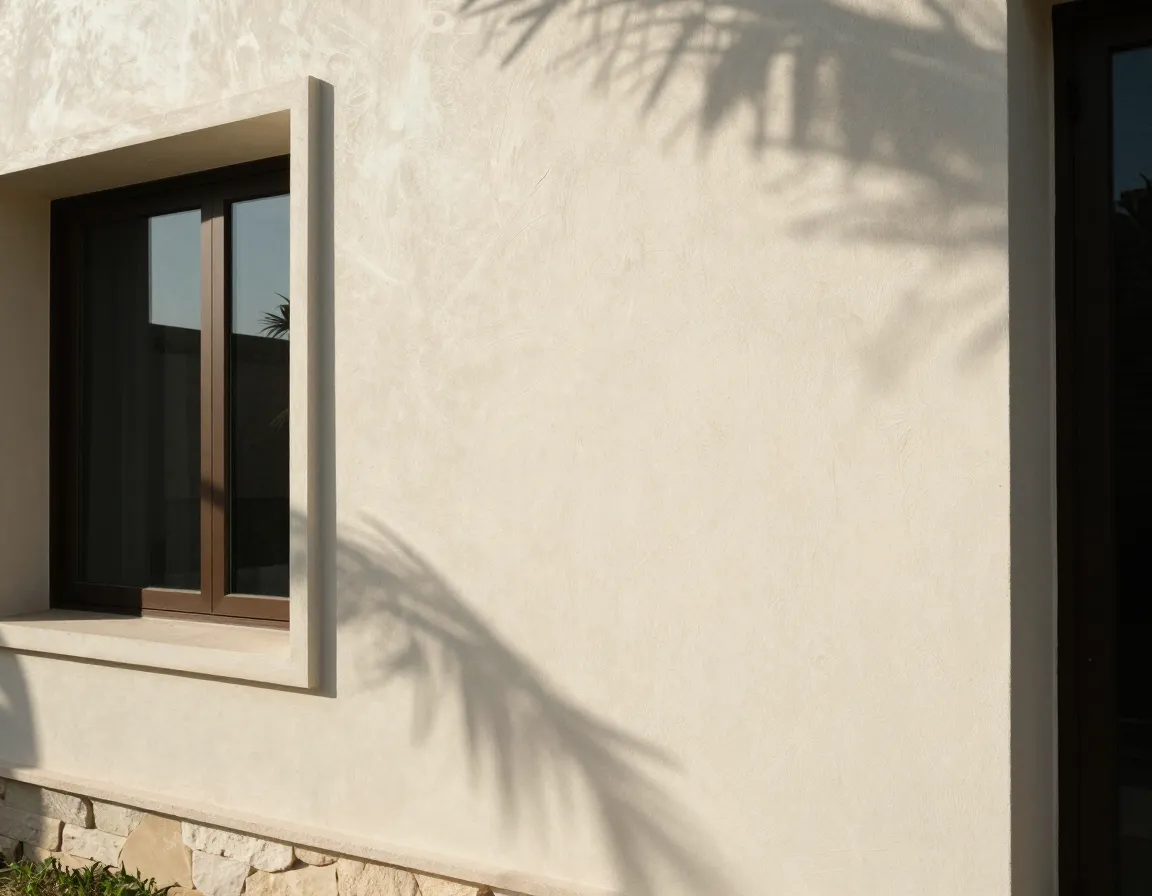
Roof and terrace leaks are among the most expensive problems a building can have. Water finds its way into the slab, stains the ceiling below, corrodes reinforcement and, if it is left alone, damages insulation, finishes and the flat above. In the UAE the problem has its own character. Surfaces take intense sun for most of the year, the swing between day and night heat stresses coatings and joints, and dust settles on every horizontal surface. When rain does arrive it often comes in short, heavy bursts that test drainage and every weak detail at the same time.
Key takeaways
- Most roof and terrace leaks come from a chain of small weaknesses rather than one dramatic failure.
- There is no single best system for every roof.
- Most waterproofing failures trace back to preparation, not the product.
- Waterproofing cannot fix a surface that holds water, so drainage, slopes and outlets must be right first.
- Many leaks appear at edges and details such as parapets, joints and penetrations rather than in the open field of the roof.
- A flood or ponding test is the simplest way to find a leak before it reaches the rooms below.
This guide explains how to think about roof, terrace and balcony waterproofing in practical terms. It covers how leaks usually start, the main types of system, why surface preparation decides most outcomes, and how to test the work before anything is laid on top. It is written for homeowners, facility managers, contractors and anyone planning a repair or a new roof. It does not replace the technical data sheet of the product you choose, and where a detail depends on the specific building, a site inspection is the right next step.
Why roofs and terraces leak in the UAE
Most leaks are not caused by one dramatic failure. They come from a chain of small weaknesses: a hairline crack that opens with temperature movement, a drain outlet set slightly above the lowest point, a parapet joint that was never sealed, or a pipe passing through the slab without a proper collar. Water is patient. It only needs one route.
The most common starting points are:
- Cracks in the slab or screed, especially where the slab meets walls or columns.
- Drain outlets that sit too high or are blocked with debris, which leaves standing water on the surface.
- Parapets, upstands and wall-to-roof junctions where the membrane was not turned up properly.
- Pipe, cable and air conditioning penetrations sealed with cement alone instead of a flexible sealant or a pre-formed collar.
- Expansion joints that were covered over and never given a detail that allows movement.
- Old coatings that have aged, cracked or lifted, letting water get underneath.
The sun adds its own pressure. Ultraviolet light breaks down many exposed coatings over time, so a surface that looks sound can lose flexibility and start to crack. Heat also makes surfaces expand during the day and contract at night. A system that cannot move with the slab will eventually split at its weakest point.
Dust is an underrated factor. A layer of sand and fine dust on a roof reduces adhesion and can trap moisture under the coating. Keeping drains clear and the surface reasonably clean makes every other step more effective.
Choose the right waterproofing system
There is no single best system for every roof. The right choice depends on what the surface is, whether it will be walked on, whether it will be tiled, how much movement the slab shows, and how easily the surface can be maintained. The main families are described below.
Liquid-applied membranes
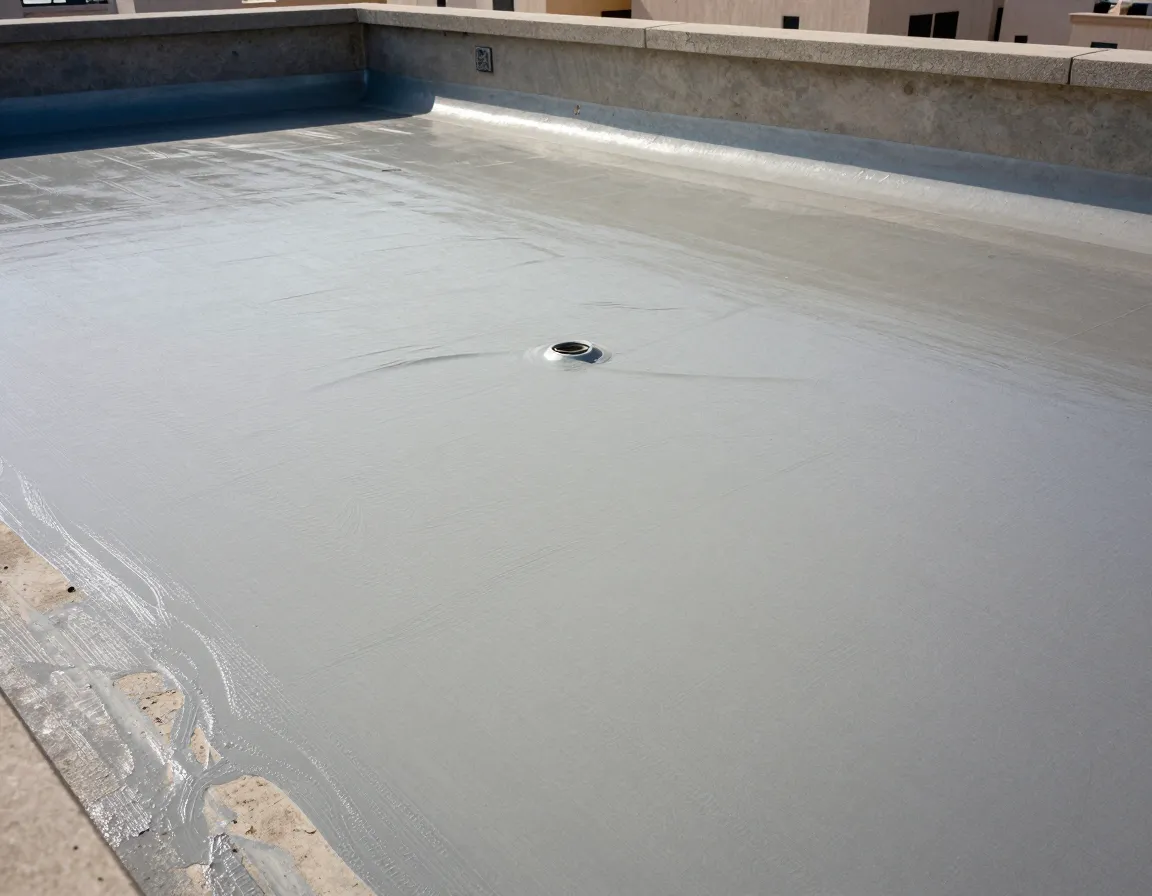
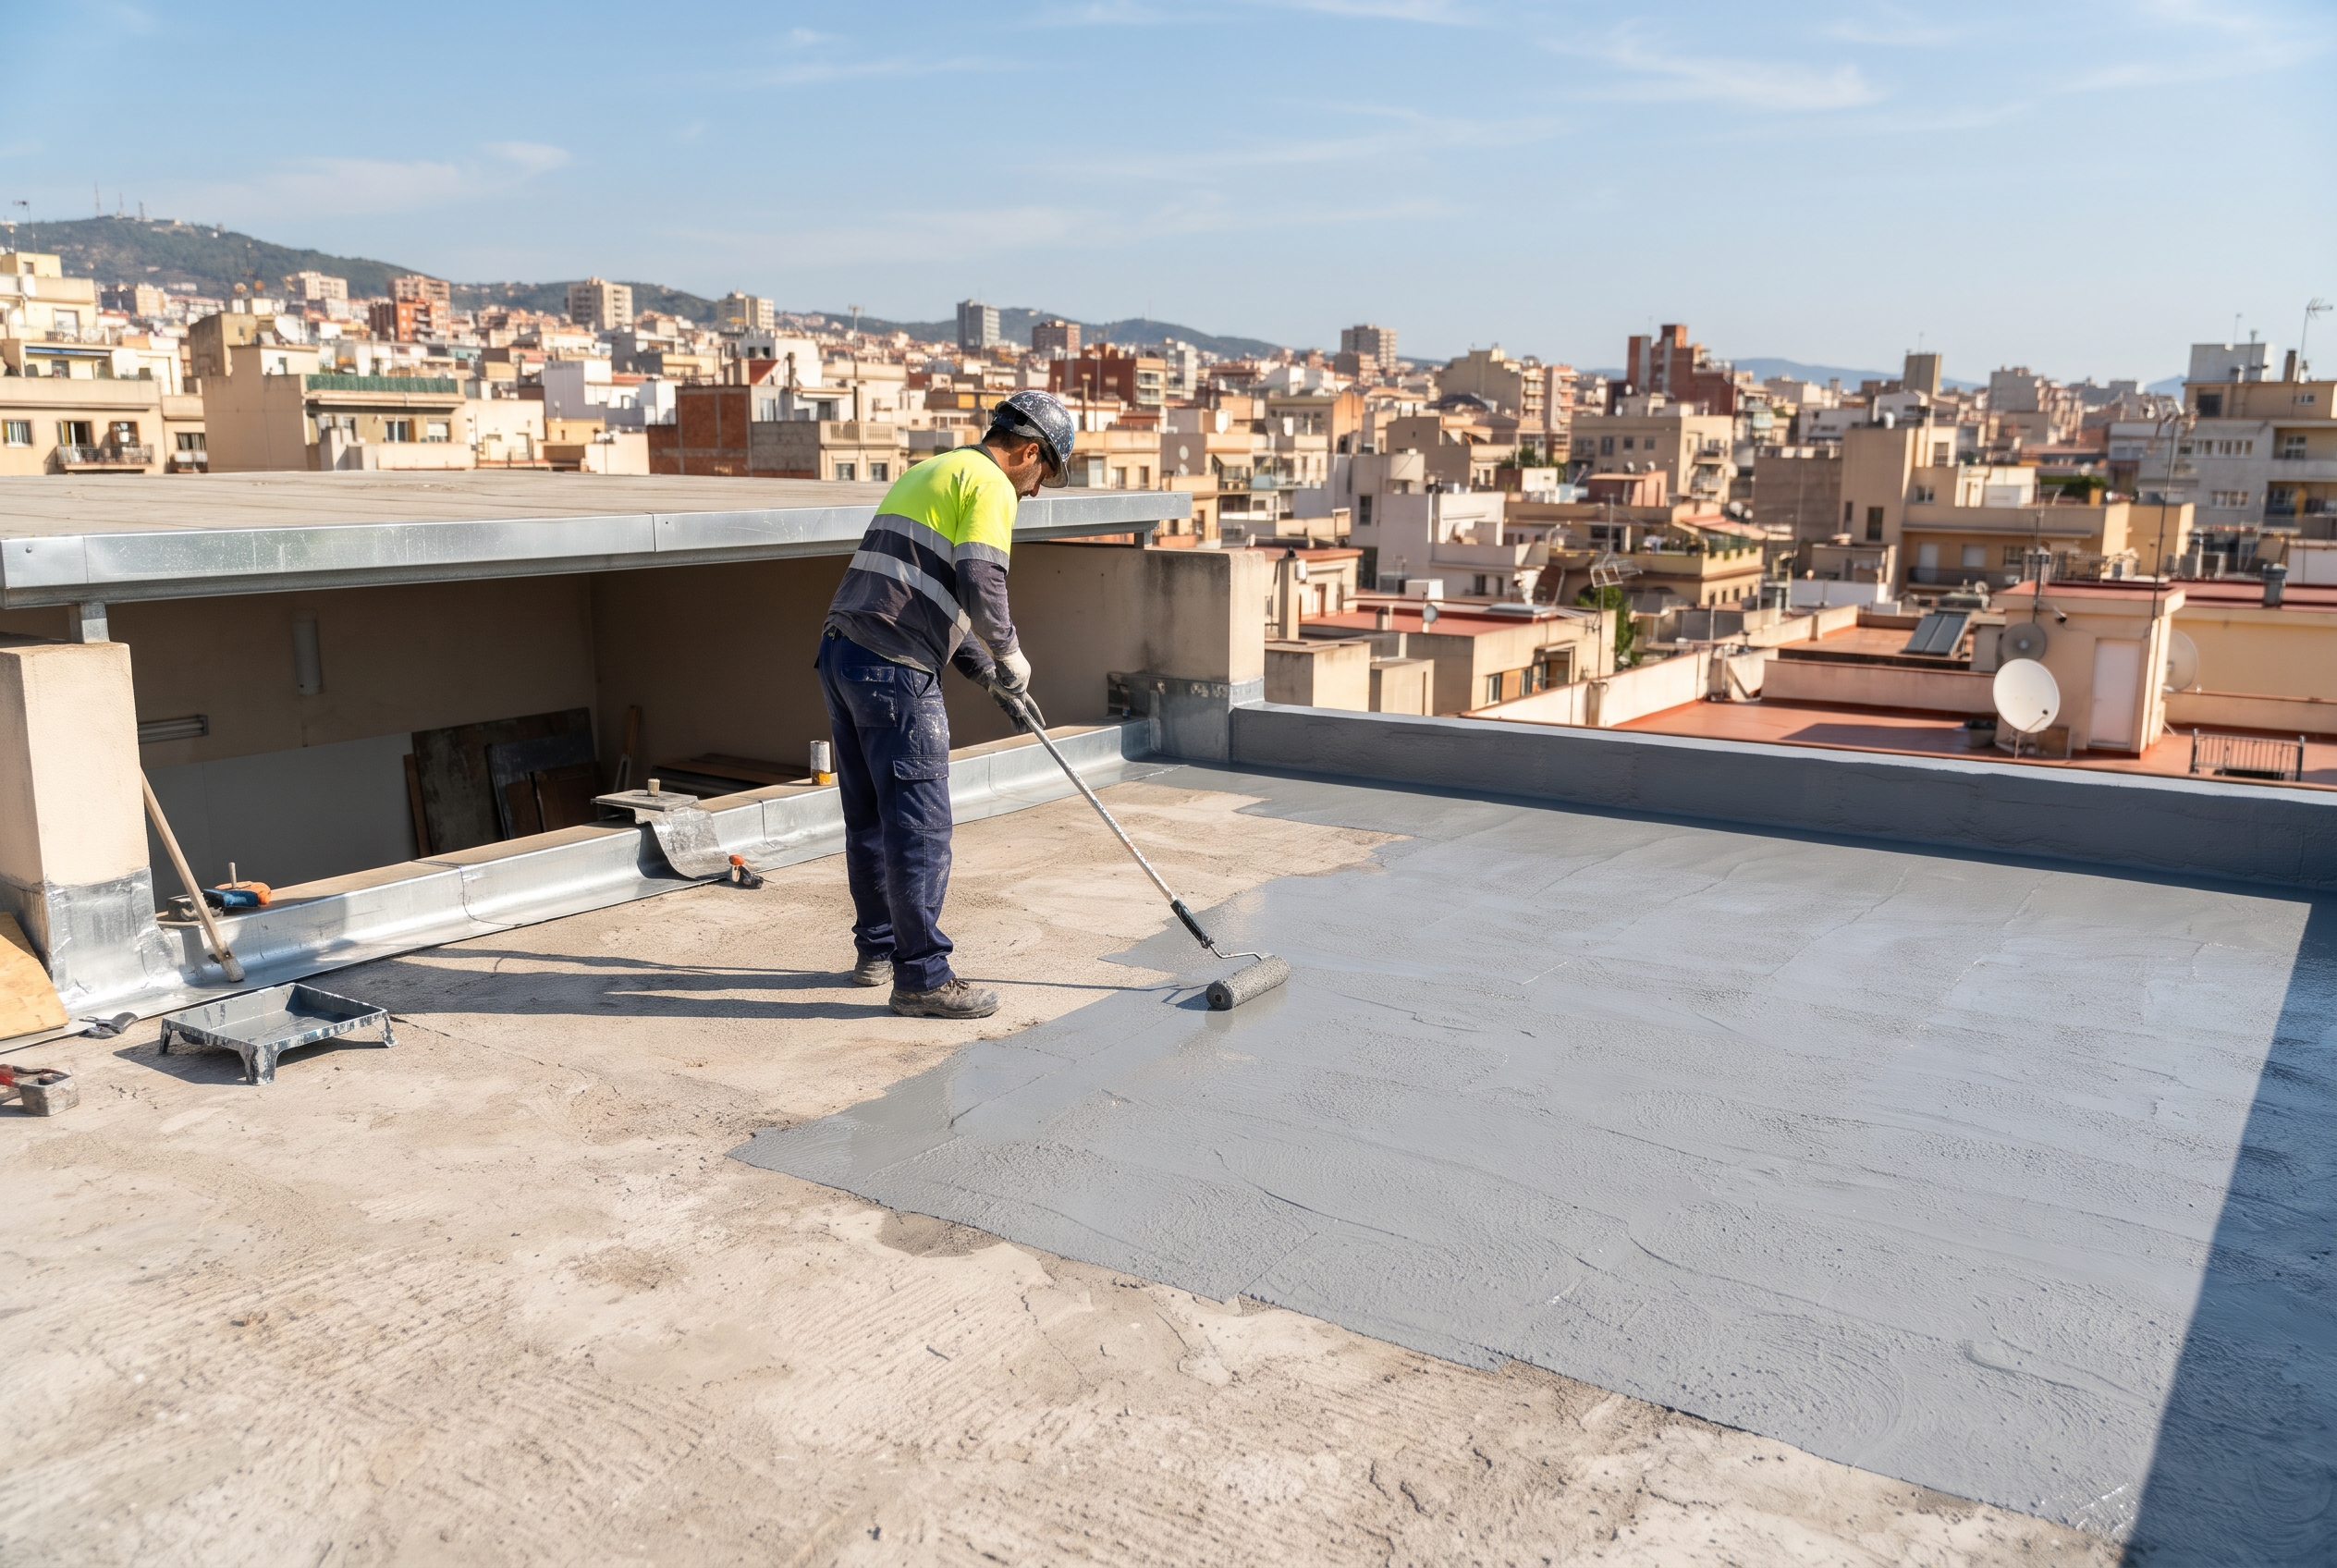
Liquid-applied membranes are coatings, usually acrylic, polyurethane or bitumen-based, that cure into a continuous seamless film once rolled or brushed on. They suit complex shapes with many corners and outlets because they can be worked easily into details. Many are reinforced with a fabric layer at joints and corners. Exposed versions need a UV-resistant topcoat, and the data sheet will say which topcoats are compatible.
Cementitious and polymer-modified coatings
Cement-based slurries and polymer-modified coatings are common on terraces and in wet areas. They bond well to concrete, can usually be walked on once cured, and are often used under tiles or screeds. They are less flexible than elastomeric coatings, so they suit stable surfaces with limited movement, and they must be detailed carefully at every joint.
Sheet membranes
Sheet membranes, including bituminous or polymer sheets, are bonded or torched in overlapping layers. They can give robust protection on large flat roofs. The laps and terminations are the critical points, and installation needs trained crews and suitable weather.
Crystalline treatments
Crystalline products react with moisture in concrete and block its pores from within. They are useful for reducing water penetration through concrete walls and slabs. They are not a substitute for a membrane on an exposed roof that takes sun and movement, so check the product data sheet for its intended use before relying on one.
When you compare options, look at four things: how the product handles movement, how it performs under UV and heat, what protection it needs from traffic and tiles, and whether the supplier gives clear instructions for preparation, coverage and drying times. Ask for the technical data sheet before buying and keep the batch number with your project records.
Surface preparation decides most outcomes
Most waterproofing failures trace back to preparation, not the product. A membrane is only as good as the surface beneath it. If the substrate is dusty, oily, damp or cracked, even an excellent coating will peel, blister or lose its bond over time.
Start by clearing the surface completely. Remove loose screed, old paint flakes, tile fragments, mortar splashes and any plants growing in joints. Stiff brushes and a vacuum work for most roofs. Pressure washing can help on sound concrete, but it has to be followed by enough drying time, and it should not be used on surfaces that are already weak.
Next, repair the substrate. Cracks should be opened up, cleaned and filled with a compatible repair mortar or sealant as the data sheet describes. Spalled concrete where steel reinforcement is showing needs proper treatment before any coating goes on, because rust expands and pushes the coating away from below. Hollow or blistered screeds should be cut out and rebuilt rather than painted over.
Moisture is the variable people underestimate. Many liquid systems are sensitive to moisture in the substrate, and some require the surface to be dry for a set period before application. A simple check is to tape a square of clear plastic sheet to the surface for a day or two and look for condensation underneath. The acceptable levels and the method are set by the product manufacturer, so follow the data sheet rather than a general rule.
Primers matter as well. Where the data sheet calls for a primer, it is there to bond the membrane to the substrate, not to save time. Apply it at the stated coverage, let it cure fully, and avoid overworking it while it is still tacky.
Drainage, slopes and outlets
Waterproofing cannot fix a surface that holds water. Flat roofs and terraces need a fall toward the drains so that rain runs off rather than pooling. Where the slope is missing or uneven, water sits for hours after each shower. Standing water is the heaviest load a membrane carries, and it encourages algae and dirt, which can shorten the life of coatings.
Check the outlets. Each drain should sit at the lowest point of its area, with the surround cut down so that water flows into it easily. Outlets set above the surface leave a puddle around their edge. Strainers should be clean and kept in place, because a blocked outlet during a storm can turn a roof into a pool within minutes.
Overflow outlets matter on enclosed roofs and terraces that would otherwise hold water if the main drain blocks. Where a building has no overflow, raise the question with the designer or a qualified contractor during planning. Do not assume that a single outlet is enough for every case.
Balconies need the same thinking. A balcony that tilts toward the building wall sends water into the wall and along the window line. It should fall away from the wall toward a drip edge or a drain, and the drip edge should project far enough that water drops clear of the facade.
Balconies and terraces finished with tiles
Many balconies and terraces are finished with tiles or pavers over the waterproofing. This creates a layered system. The membrane sits underneath, a bed of adhesive or mortar holds the tiles, and grout fills the joints. Each layer has its own job, and each can fail.
The membrane must be continuous. Look for a membrane that runs up the walls and over the edges to the height the designer specifies, finished with a neat termination such as a sealed edge profile. Water that gets behind the tiles has to find a way out, or it will sit against the slab for years.
Movement joints in tiled areas need care. Tiles should be laid with movement joints at the intervals and in the positions that the tile manufacturer and the designer recommend. Those joints should be filled with a flexible sealant rather than rigid grout. Rigid grout in a movement joint cracks as soon as the slab moves, and the crack lets water through.
Grout is not waterproofing. It reduces water entry through the joints, but it is porous and will eventually stain or crack, so the membrane beneath does the real work. Choose grout suited to outdoor use and to the tile size, and seal it where the data sheet says a sealer is needed.
Parapets, joints and penetrations
Many leaks appear at the edges and details rather than in the open field of the roof. Parapets, upstands against walls, skirting details, expansion joints and every pipe or cable that passes through the slab are common weak points.
Upstands need the membrane turned up the wall with enough height to stay above the water line, and the top edge must be terminated so that water cannot run behind it. A bead of sealant on its own is not a termination. A cap flashing or another sealed detail approved by the membrane manufacturer is usually required.
Pipes and penetrations should have a collar or a sealed sleeve. Filling the gap with cement does not make a flexible seal, because the pipe and the cement move differently and separate over time. Use a suitable sealant, a pre-formed collar or a detail the membrane manufacturer approves.
Expansion joints should be detailed as movement joints, not covered over and forgotten. The joint needs a backing rod and a sealant that can stretch, and it should be finished with a flashing or membrane detail that lets it move. A joint covered only by paint will split as the building moves with heat and seasonal change.
A practical step-by-step process
A good project follows a clear sequence, and skipping steps usually costs more later. The outline below is general. The product data sheet and the applicator’s method statement take priority over it.
- Survey the roof or terrace and mark every drain, outlet, crack, upstand and penetration.
- Clear the surface, remove loose material, and repair cracks and spalled areas.
- Check the substrate condition and moisture, and confirm it meets the product requirements.
- Correct falls and drainage where needed, and clean or replace outlets and strainers.
- Apply the primer if the system calls for one, and allow it to cure.
- Detail corners, joints, penetrations and upstands with reinforcing fabric or sealant where the system requires it.
- Apply the membrane in the number of coats and at the coverage stated in the data sheet, letting each coat dry before the next.
- Protect the membrane from traffic, debris and rain until it is fully cured, then apply the topcoat or tiles if the system needs them.
- Carry out a flood or ponding test before the area is loaded or tiled.
- Record the product names, batch numbers, dates and contractor details for future maintenance.
Testing before the surface is used
A flood or ponding test is the simplest way to find a leak before it reaches the rooms below. Once the membrane is cured, block the outlets, fill the area with water to the depth the designer specifies, and leave it for the period the designer sets. Mark the water level at the start, then check the surface, the upstands, the penetrations and the ceiling below for any sign of wetness.
Do the test before tiles, screeds or planters go on. Finding a leak after the finishes are down means breaking them out to reach the membrane. It is far cheaper to repair a small area while it is still exposed. Keep a written record of the test, including the date, the water depth, the time and the result, and photograph the level at the start and end.
Where a test shows a leak, mark it, dry the area fully and repair it with the same system that was originally specified. Patching with a different product may not bond properly to the existing membrane. After repairs, repeat the test on the affected area.
Maintenance that protects your investment
A waterproofing system is not finished when the contractor leaves. It needs simple, regular care. Sweep the surface and clear debris from drains at least a few times a year, and after any dusty or windy period. Check the outlets after heavy rain to confirm that water is draining away.
Inspect the surface once or twice a year. Look for blisters, bubbles, cracks, lifting edges, bare patches, rust stains and sealant that has shrunk or come away from its joint. Small defects are much easier to fix than large ones. A small blister left alone can grow into an open area within a season or two.
Keep foot traffic, furniture and planters in mind. Heavy items should be placed on pads or supports so they do not dent or puncture the surface. Avoid dragging objects across the membrane. Where a topcoat is part of the system, recoat it when it shows wear, using the product and the interval given in the data sheet.
Do not let plants root in the surface. Roots find cracks and joints, and they can open a path for water. If plants are part of the design, use planters raised on supports so that the membrane can be inspected and cleaned beneath.
Keep the records. The product names, batch numbers, application dates and the contractor’s warranty should be kept together with the plans. When a future repair is needed, the same product can be specified, and the new work can be matched to the existing system.
Common mistakes to avoid
Several errors show up again and again on UAE roofs and terraces. Recognising them early saves money.
- Applying a coating over a surface that has not been cleaned, dried or repaired.
- Using cement or rigid mortar to seal pipes and joints that need to move.
- Stopping the membrane at the edge of the floor rather than turning it up the wall.
- Assuming that a thicker coat always gives better protection. Most systems perform to their specification only at the stated coverage.
- Skipping the flood test because the work looks finished.
- Tiling directly over a membrane without the required protection layer or movement joints.
- Blocking drains with tiles or planters, which stops water from leaving the surface.
- Choosing the cheapest product without reading the data sheet for its intended use.
Most of these mistakes come from speed. A slower, well documented job is usually the cheaper one over the life of the building.
Frequently asked questions
Can I waterproof a roof myself?
A small, simple area can sometimes be done by a capable homeowner who follows the product instructions closely. Large roofs, complex details and structural repairs should be handled by an experienced applicator. The main risk is not the coating itself but the preparation and the detailing, which are easy to get wrong without experience.
How do I know which system suits my roof?
Start with the use of the surface. Will it be walked on, tiled, planted or left exposed. Then look at the substrate, the amount of movement and the shape of the area. A short conversation with a supplier who can read the data sheets, or a site visit by the applicator, will narrow the options quickly. Ask for the technical data sheet before you buy.
Does waterproofing need repainting or resealing?
Some systems include a topcoat that needs renewing as the surface wears, particularly on exposed roofs. Others are designed to be left as they are. Check the data sheet for the intended maintenance interval, and follow it.
What is the best time of year to apply a coating?
Temperature, humidity and rain all affect application and curing. Many manufacturers give a range of temperatures and conditions in which the product should be applied. Work outside that range can cause poor curing, trapped moisture and weak bond. Plan the work around the data sheet, not around a calendar assumption.
Do I need to remove the old membrane before a new one goes on?
It depends on the condition of the existing layer and the new system. Sound, well bonded old coatings can sometimes be prepared and overcoated. Lifting, blistered or failing layers should be removed back to a sound surface. Ask the applicator to inspect and confirm the approach before work starts.
How Al Tashteb can help
Al Tashteb supplies building materials and paint in Dubai and Sharjah, including products from brands such as Berger, Jotun and National Paints. Browse the range on our products page, or contact the team through the contact page if you want help choosing the right product for a roof, terrace or balcony. Please share the photos of the area, the surface type and the intended use so that the advice matches the job.
For painting the walls and ceilings below a repaired roof, read our guide on how to prepare a wall before painting. For exterior colour and finish choices, see our guide to the best exterior paint in the UAE. You can find more practical guides in the Al Tashteb building materials guides.
Waterproofing is one of those jobs where good planning costs far less than a repair. Take the time to understand the surface, choose a system that matches its use, detail the weak points properly, and test before anything is laid on top. That approach keeps water out of the building, and it keeps the building in good condition for years.