Interior doors get handled every day, so they show scuffs, fingerprints and chips long before the walls do. A careful repaint takes a weekend and makes a room look finished again. The secret is the same as any paint job: clean, sand, prime where needed, and apply thin coats in the right order.
Key takeaways
- Remove handles and hardware before you start.
- Degrease, sand and wipe off the dust. Prime any bare or previously unpainted wood.
- On a panelled door, paint the panels first with an angled brush, then roll the flat areas.
- Apply two thin coats and let each one dry as the label specifies.
What you need
- Screwdriver and a bag to keep screws together
- Degreasing detergent, sponge and clean cloths
- Sandpaper or sanding sponge, and a damp rag for dust
- Wood filler for dents and chips
- Primer suited to wood, and a durable paint for doors and trim
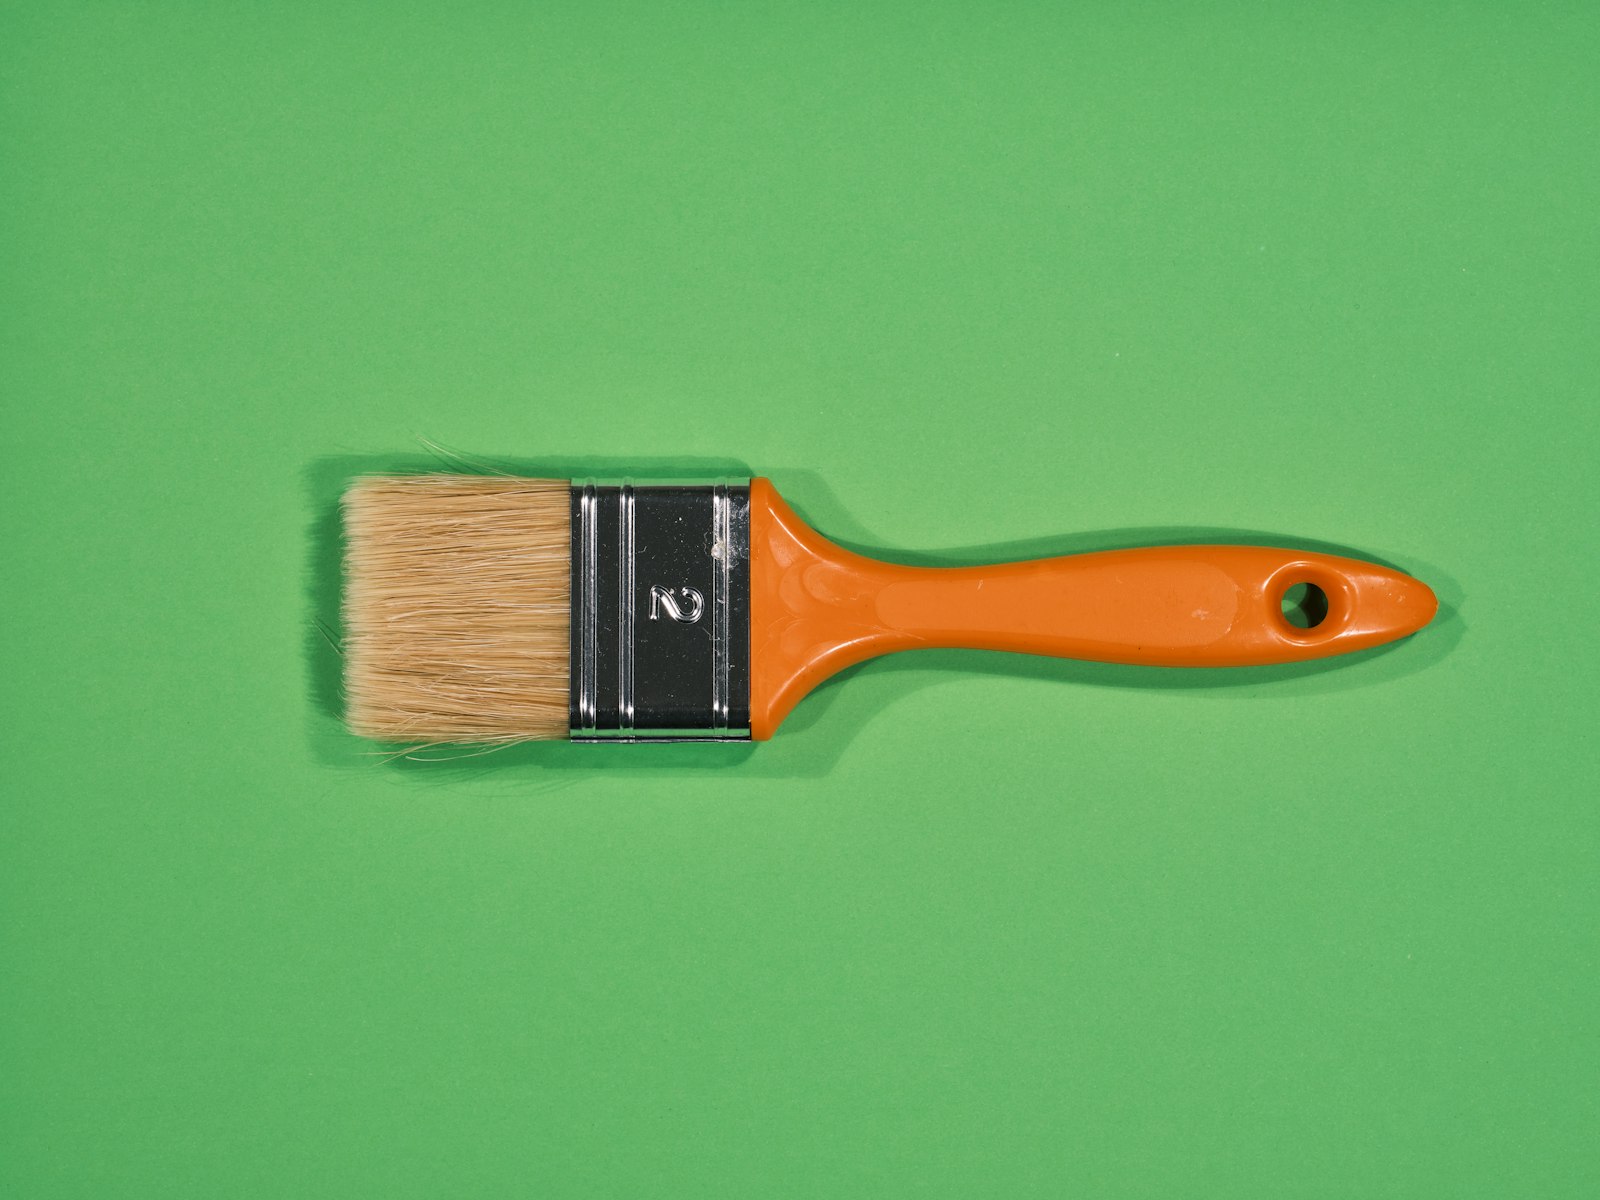
- Angled trim brush and a small foam or short-pile roller
- Masking tape and dust sheets
Step 1: Remove the hardware
Take off handles, lock plates and any other fittings, and keep the screws together. Sherwin-Williams advises removing hardware first and reattaching it only once the paint is fully dry. You can paint the door on its hinges or take it off and lay it flat on trestles, which helps avoid drips.
Step 2: Clean the door
Doors collect grease from hands, especially around the handle. Wash the whole door with a degreasing detergent, then wipe it with a clean damp cloth to remove soap residue. Paint does not bond well to grease.
Step 3: Fill, sand and prime
Fill dents and chips with wood filler and let it dry. Sand the whole door smooth to give the new paint something to grip, then wipe off the dust with a damp rag. If the door has never been painted or primed, or you have sanded through to bare wood, apply a primer and let it dry completely before painting.
Step 4: Paint in the right order
On a panelled door, start with the recessed panels and their mouldings, using an angled trim brush, and work carefully around the hinges and hardware openings. Then paint the remaining flat areas with a small roller in thin, even layers. Working this way stops paint from building up in the corners of the panels.
For a flush (flat) door, roll the whole face in thin layers and use the brush only at the edges.
Step 5: Second coat and drying
Sherwin-Williams suggests waiting at least four hours before the second coat, and four hours or overnight after it. Drying times vary between products, so always check the label of the paint you use. Leave the door slightly open while it dries so it does not stick to the frame, and reattach the hardware only when the paint is fully dry.
Choosing the paint and finish
Doors need a paint that stands up to cleaning and knocks. Our guide to emulsions, enamels and primers explains the options, and our paint finish guide covers why satin and semi-gloss finishes are easier to wipe clean than matt.
Common mistakes
- Painting over grease or dust, which leads to poor adhesion and peeling.
- Loading the brush heavily, which causes drips and runs in the panel corners.
- Recoating too soon, before the first coat is dry.
- Closing the door before the paint is dry.
Frequently asked questions
Do I need to prime a door that is already painted?
Not usually, if the existing paint is sound and you clean and sand it first. Prime any bare wood, filler or patches where you sanded through.
Should I take the door off its hinges?
It is optional. Laying the door flat reduces drips, but painting it in place works if you use thin coats and keep it wedged slightly open.
How many coats does a door need?
Two thin coats are standard. A strong colour change may need more; check the coverage guidance on the tin.
Need paint for your doors?
Al Tashteb Al Saree stocks primers and paints from National Paints, Terraco, Berger and Jotun. Browse our products or contact us and tell us how many doors you are painting.
Sources
- Sherwin-Williams: How to paint an interior door (US manufacturer, not UAE-specific)
Retrieved 31 October 2026. Images from Unsplash: H&CO and engin akyurt.